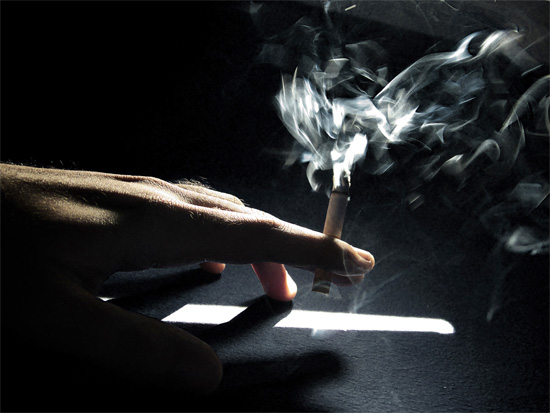
If you are a smoker than you have no doubt seen some of your favorite garment exposed to nicotine stains. The tar that is left behind is the actual culprit of the stain and this can be a hassle to get out when you are relying on regular clothes detergent alone. But you do not have to get rid of your favorite clothes as there is a way to effectively remove those nicotine stains that isn’t all that hard.
There are many nicotine stain removers that are sold in the stores but these can be very expensive and are sketchy at best when it comes to their effectiveness. There is no need to spend the money because there is a solution you can make right at home for a fraction of the cost.
Face it, if you’re going to be smoker you will have to deal with nicotine stains. Here is how you effectively remove nicotine stains from your clothes:
• Make a cleaning solution: You can make an effective wet cleaning solution by mixing one part glycerin, one pert dishwashing detergent that is white in color, and also eight part of water. Once combined, seal the bottle and shake it really well to ensure all the ingredients get a good mixing.
• Prepare the garment: Grab the nicotine stained garment and before you attempt to treat it you will want to wet the affected area with cold water and let the garment sit for about twenty minutes. After the elapsed time rinse the garment on more time with cold water and this time do not allow it to sit.
• Treat the garment: Now grab your home made spot remover and spray it liberally on the stain. Here is where you will also use the ‘secret ingredient’ which is nothing more than vinegar. Once the two cleaning agents are on the stain cover the stain with an all cotton pad or folded cloth and put that on top of the stain. Allow the cotton to set and then ‘lift’ away the stain.
• Repeat: You may have to repeat this process several times until it looks like the stain is all but gone. When you are happy with the result you can move on to the next step.
• Wash the garment: Now you need only wash the garment as you normally would in a regular load of laundry. However, when the load is done, do not dry the garment in your clothes dryer.
• Dry the garment: Allow the garment to air dry to be sure that you have totally removed the nicotine stain. If you have not then you need to go back to square one and start over again.
There is no set amount of treatments that will determine when the stain will come out and there are several factors that will determine how bad the stain is including how long the garment has been exposed to smoke and how long the nicotine has been allowed to set in.
Once you have removed all the nicotine stains from your clothes you can keep them away by adding vinegar to your loads of laundry on occasion. You don’t have to do it every load, but once a month or so is not a bad idea and will help keep the nicotine stains at bay.


